

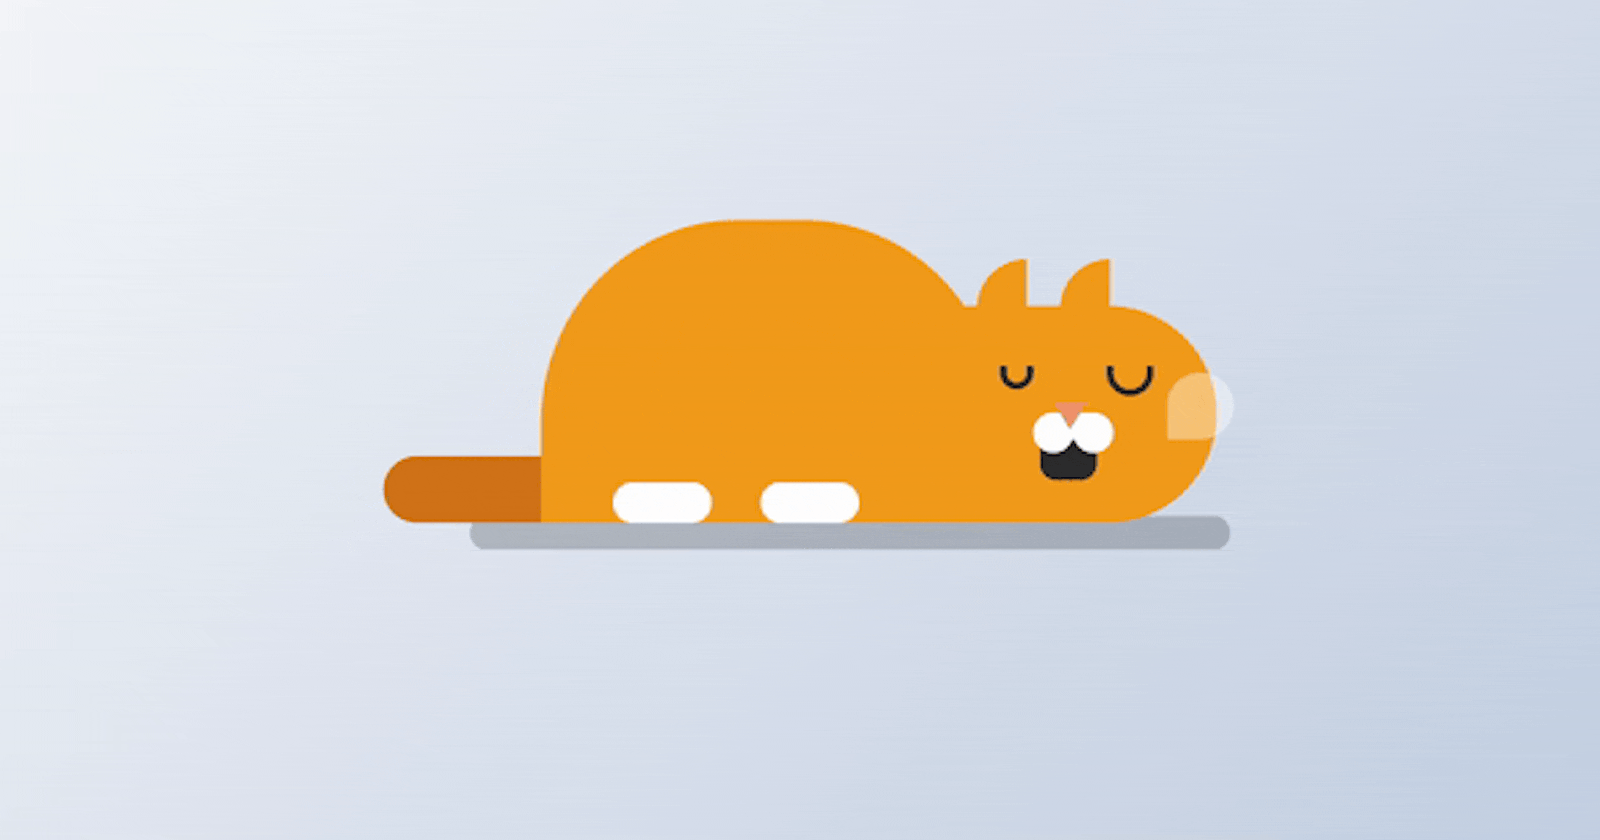


Are you ready to add some charm to your web projects? In this article, we'll walk through the process of creating an adorable animated sleeping cat using HTML and CSS.
This project is a perfect addition to your front-end development portfolio and a fun way to practice your coding skills. Plus, it's part of Day 19 of the #100DaysOfCode Challenge!
Step 1: Download the Source Code
First things first, let's grab the full source code for our animated sleeping cat project. You can download it from this link.
Step 2: Setting Up the HTML Structure
Open the downloaded source code in your favorite text editor. We'll start by setting up the HTML structure for our project. Here's a basic outline:
<!DOCTYPE html>
<html lang="en">

<head>
    <!-- Set the character encoding for the document to UTF-8 -->
    <meta charset="UTF-8" />
    <!-- Set the compatibility mode for Internet Explorer -->
    <meta http-equiv="X-UA-Compatible" content="IE=edge" />
    <!-- Set the viewport width and initial scale for responsive design -->
    <meta name="viewport" content="width=device-width, initial-scale=1.0" />
    <!-- Link to an external stylesheet -->
    <link rel="stylesheet" href="style.css" />
    <!-- Title of the webpage -->
    <title>Animated Sleeping Cat</title>
</head>

<body>
    <!-- Container for holding the elements -->
    <div class="container">
        <!-- Shadow element for the cat -->
        <div class="shadow"></div>
        <!-- Main cat element -->
        <div class="cat">
            <!-- Ear of the cat -->
            <div class="ear"></div>
            <!-- Eye of the cat -->
            <div class="eye"></div>
            <!-- Mouth of the cat -->
            <div class="mouth"></div>
            <!-- Nose of the cat -->
            <div class="nose"></div>
            <!-- Tail of the cat -->
            <div class="tail"></div>
            <!-- Body of the cat -->
            <div class="body"></div>
            <!-- Speech bubble of the cat -->
            <div class="bubble"></div>
        </div>
    </div>
</body>

</html>
Step 3: Styling with CSS
Now, let's add some styles to make our cat come to life! Open the style.css file and follow along with these CSS rules:
/* Reset default margin, padding, and box-sizing */
* {
    margin: 0;
    padding: 0;
    box-sizing: border-box;
}

/* Set background gradient for the body */
body {
    background-image: linear-gradient(135deg, #f5f7fa 0%, #c3cfe2 100%);
    min-height: 100vh;
}

/* Style for the main container */
.container {
    height: 200px;
    width: 350px;
    position: absolute;
    transform: translate(-50%, -50%);
    left: 50%;
    top: 50%;
}

/* Style for the cat */
.cat {
    background-color: #f19b1a;
    height: 65px;
    width: 80px;
    border-radius: 0 80px 80px 0;
    position: absolute;
    bottom: 60px;
    right: 50px;
}

/* Style for the cat's ear */
.ear {
    height: 15px;
    width: 15px;
    background-color: #f19b1a;
    position: absolute;
    bottom: 64px;
    left: 8px;
    border-radius: 20px 0 0 0;
    box-shadow: 25px 0 #f19b1a;
}

/* Styles for the cat's eye */
.eye,
.eye:before {
    height: 7px;
    width: 10px;
    border: 2px solid #2c2c2c;
    position: absolute;
    border-radius: 0 0 15px 15px;
    border-top: none;
}

.eye {
    top: 18px;
    left: 15px;
}

.eye:before {
    content: "";
    left: 30px;
}

/* Style for the cat's nose */
.nose {
    background-color: #ffffff;
    height: 12px;
    width: 12px;
    border-radius: 50%;
    position: absolute;
    top: 32px;
    left: 25px;
    box-shadow: 12px 0 #ffffff;
    /* Create a shadow effect for the nose */
}

/* Styles for the cat's nose elements */
.nose:before {
    content: "";
    width: 12px;
    height: 8px;
    position: absolute;
    background-color: #ffffff;
    left: 6px;
}

.nose:after {
    content: "";
    position: absolute;
    height: 0;
    width: 0;
    border-top: 8px solid #ef926b;
    border-left: 5px solid transparent;
    border-right: 5px solid transparent;
    bottom: 7px;
    left: 6px;
}

/* Style for the cat's mouth */
.mouth {
    background-color: #2c2c2c;
    height: 15px;
    width: 17px;
    position: absolute;
    border-radius: 0 0 5px 5px;
    top: 38px;
    left: 27px;
    animation: mouth-move 2s infinite;
    transform-origin: top;
}

/* Style for the cat's body */
.body {
    background-color: #f19b1a;
    height: 90px;
    width: 140px;
    position: absolute;
    right: 65px;
    bottom: 0;
    border-radius: 60px 60px 0 0;
    animation: sleep 2s infinite;
    transform-origin: bottom right;
}

/* Style for the cat's tail */
.tail {
    background-color: #d07219;
    height: 20px;
    width: 100px;
    position: absolute;
    right: 150px;
    bottom: 0;
    border-radius: 20px 0 0 20px;
}

/* Create a shadow effect for the cat's body */
.body:before {
    content: "";
    position: absolute;
    background-color: #ffffff;
    height: 12px;
    width: 30px;
    border-radius: 6px;
    bottom: 0;
    left: 22px;
    box-shadow: 45px 0 #ffffff;
    /* Create a shadow effect for the cat's body */
}

/* Style for the cat's speech bubble */
.bubble {
    height: 20px;
    width: 20px;
    background-color: rgba(255, 255, 255, 0.4);
    position: absolute;
    left: 65px;
    top: 20px;
    border-radius: 50px 50px 50px 5px;
    animation: bubble-scale 2s infinite;
    /* Apply animation to make the bubble scale */
}

/* Style for the cat's shadow */
.shadow {
    height: 10px;
    width: 240px;
    background-color: rgba(0, 0, 0, 0.2);
    border-radius: 10px;
    position: absolute;
    bottom: 52px;
    left: 70px;
    animation: shadow 2s infinite;
    /* Apply animation to make the shadow scale */
}
Step 4: Add Animation Effects
To make our cat truly animated, we'll incorporate some keyframe animations. Here's how to define them in your CSS:
/* Keyframes for mouth movement */
@keyframes mouth-move {
    50% {
        transform: scaleY(0.7);
    }
}

/* Keyframes for body sleeping animation */
@keyframes sleep {
    50% {
        transform: scale(0.9, 1.05);
    }
}

/* Keyframes for bubble scaling animation */
@keyframes bubble-scale {
    50% {
        transform: scale(1.6);
    }
}

/* Keyframes for shadow scaling animation */
@keyframes shadow {
    50% {
        transform: scaleX(0.7);
    }
}
Step 5: Customize and Experiment
Feel free to customize the colors, sizes, and animation durations to suit your preferences. Experiment with different values to see how they affect the cat's appearance and behavior.
Step 6: Test Your Creation
Finally, open the HTML file in your web browser to see your animated sleeping cat in action! Make any further adjustments as needed until you're satisfied with the result.
Step 7: Share Your Work
Once you're happy with your animated cat, share it with the world! You can showcase it on your portfolio, share it on social media, or even incorporate it into your other web projects.
That's it! You've successfully created an adorable animated sleeping cat from scratch. Congratulations on completing Day 19 of the #100DaysOfCode Challenge!
For more coding tutorials and projects, don't forget to follow along with the challenge and visit bento for additional resources and inspiration. Happy coding! 🐱💤