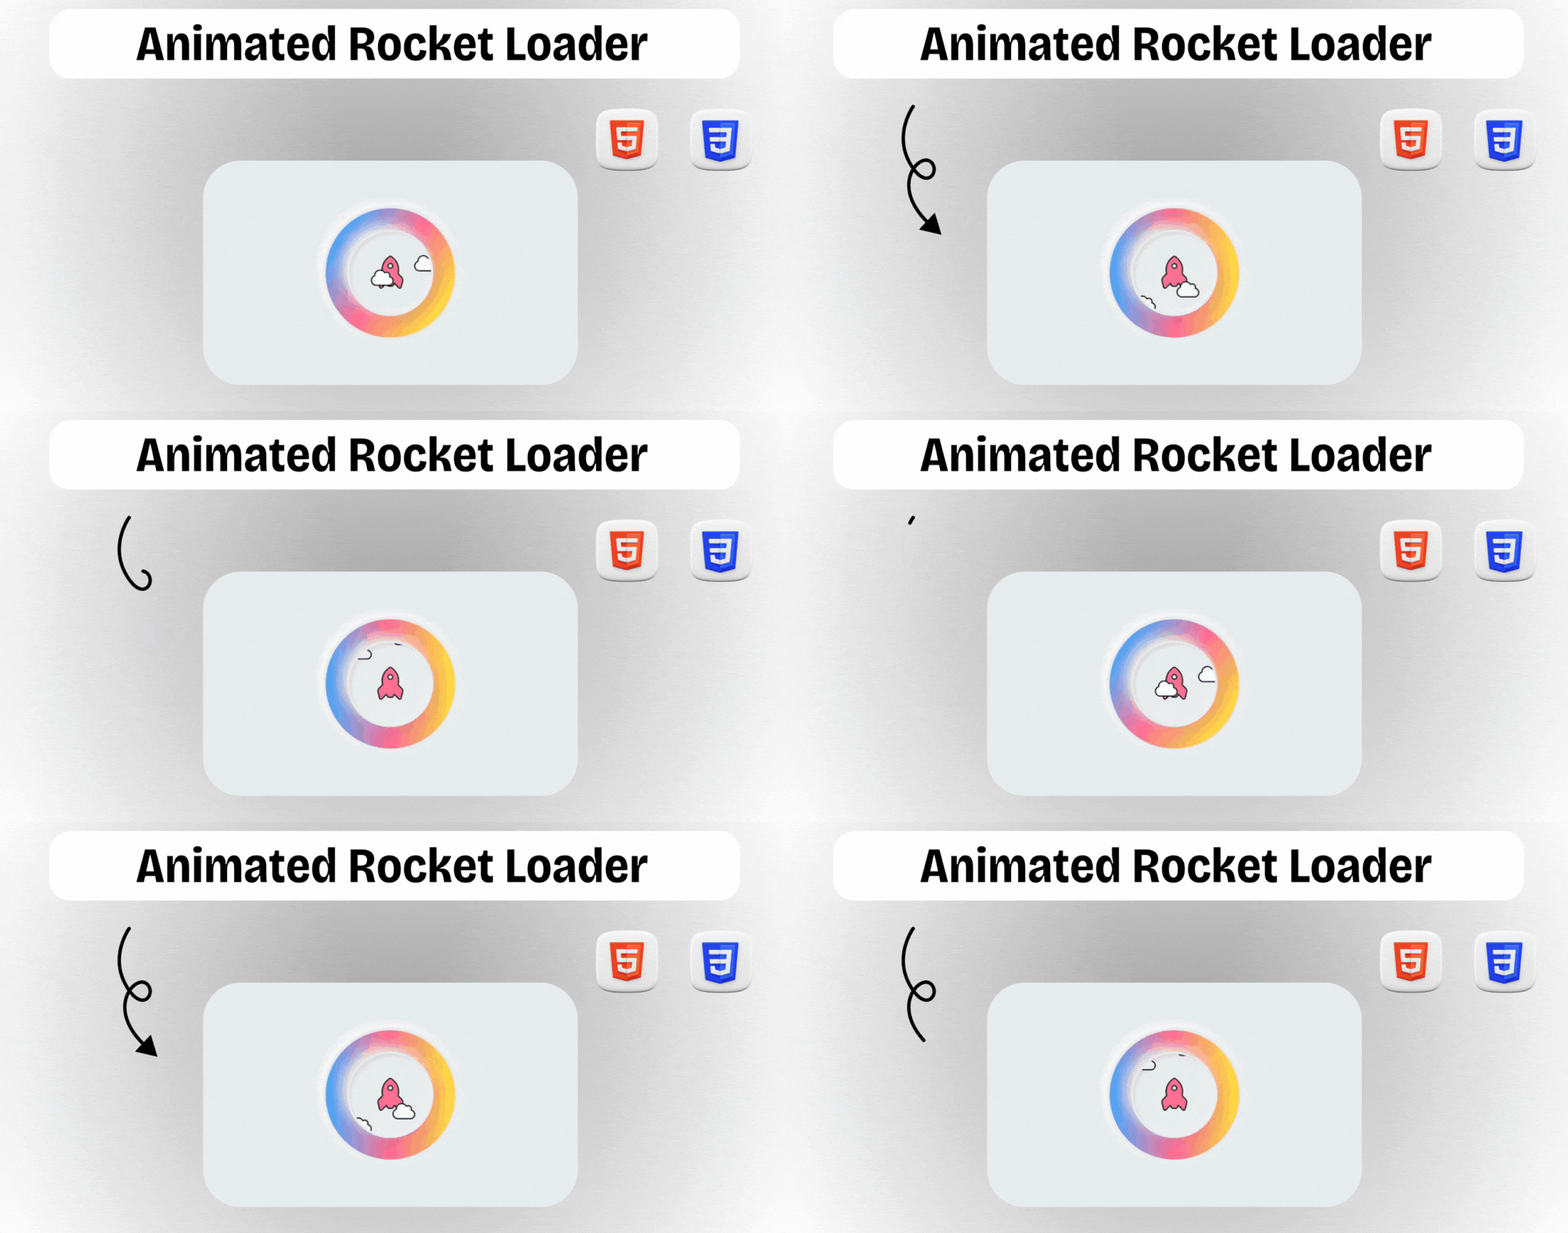
Welcome to Day 6 of the #100DaysOfCode Challenge! Today, we're going to create an exciting project: an animated rocket loader using HTML and CSS. This loader will not only make your webpage more engaging but also add a touch of fun for your users. Let's dive in!
Step 1: Set Up Your Project
First, make sure you have a text editor ready, such as Visual Studio Code or Sublime Text. Create a new folder for your project and open it in your preferred text editor.
Step 2: HTML Structure
Open your text editor and create a new HTML file. Let's name it index.html. Inside this file, we'll set up the basic structure of our webpage:
<!DOCTYPE html>
<html lang="en">
<head>
    <meta charset="UTF-8">
    <meta name="viewport" content="width=device-width, initial-scale=1.0">
    <link rel="stylesheet" href="style.css">
    <title>Animated Rocket Loader</title>
</head>
<body>
    <div class="container">
        <div class="loader">
            <div class="rocket">
                <!-- Rocket and cloud icons will go here -->
            </div>
            <span>
                <!-- Another rocket icon will go here -->
            </span>
        </div>
    </div>
</body>
</html>
Step 3: Styling with CSS
Now, let's add some styles to make our rocket loader look awesome. Create a new file named style.css and link it to your HTML file.
/* Reset styles for all elements */
* {
    margin: 0;
    padding: 0;
    box-sizing: border-box;
}

/* Styling for the container */
.container {
    display: flex;
    justify-content: center;
    align-items: center;
    min-height: 100vh;
    background: #eaeef0;
}

/* More CSS styles will go here */
Step 4: Adding Rocket and Cloud Icons
We'll use Font Awesome for our rocket and cloud icons. Make sure you have Font Awesome linked in your HTML file.
<head>
    <!-- Previous meta tags and stylesheets -->
    <link rel="stylesheet" href="https://cdnjs.cloudflare.com/ajax/libs/font-awesome/6.5.2/css/all.min.css"
    integrity="sha512-SnH5WK+bZxgPHs44uWIX+LLJAJ9/2PkPKZ5QiAj6Ta86w+fsb2TkcmfRyVX3pBnMFcV7oQPJkl9QevSCWr3W6A=="
    crossorigin="anonymous" referrerpolicy="no-referrer" />
    <!-- Link to your own stylesheet -->
    <link rel="stylesheet" href="style.css">
    <!-- Title of the webpage -->
    <title>Animated Rocket Loader</title>
</head>
<body>
    <!-- Previous HTML structure -->
    <div class="rocket">
        <i class="fas fa-rocket"></i>
        <i class="fas fa-cloud" style="--i:0"></i>
        <i class="fas fa-cloud" style="--i:1"></i>
        <i class="fas fa-cloud" style="--i:2"></i>
        <i class="fas fa-cloud" style="--i:3"></i>
    </div>
    <span>
        <i class="fa-solid fa-rocket"></i>
    </span>
    <!-- More HTML elements will go here -->
</body>
Step 5: Animating the Rocket and Clouds
Let's add animations to make our rocket and clouds move. We'll use CSS animations for this.
/* Animation for loader rotation */
@keyframes animateLoader {
    0% {
        transform: rotate(0deg);
    }

    100% {
        transform: rotate(360deg);
    }
}

/* Animation for rocket movement */
@keyframes animateRocket {
    0%,
    100% {
        transform: translate(0, 0) rotate(-45deg);
    }

    50% {
        transform: translate(0, 3px) rotate(-45deg);
    }
}

/* Animation for cloud movement */
@keyframes animateCloud {
    0% {
        transform: translateY(calc(-35 * 5px));
    }

    100% {
        transform: translateY(calc(35 * 5px));
    }
}
Step 6: Final Touches and Testing
Tweak the styles and animations until you're satisfied with the result. Once done, save your files and open index.html in a web browser to see your animated rocket loader in action!
That's it! You've successfully created an animated rocket loader. Feel free to customize it further and share your creation with others.
Conclusion
Today, we've learned how to create an animated rocket loader using HTML and CSS. This project not only enhances user experience but also adds a touch of creativity to your webpage. Keep experimenting and exploring new techniques. Happy coding!
This project is part of Day 6 of the #100DaysOfCode Challenge. You can download the full source code from here. If you have any questions or feedback, feel free to contact me via Bento.

