


HTML -

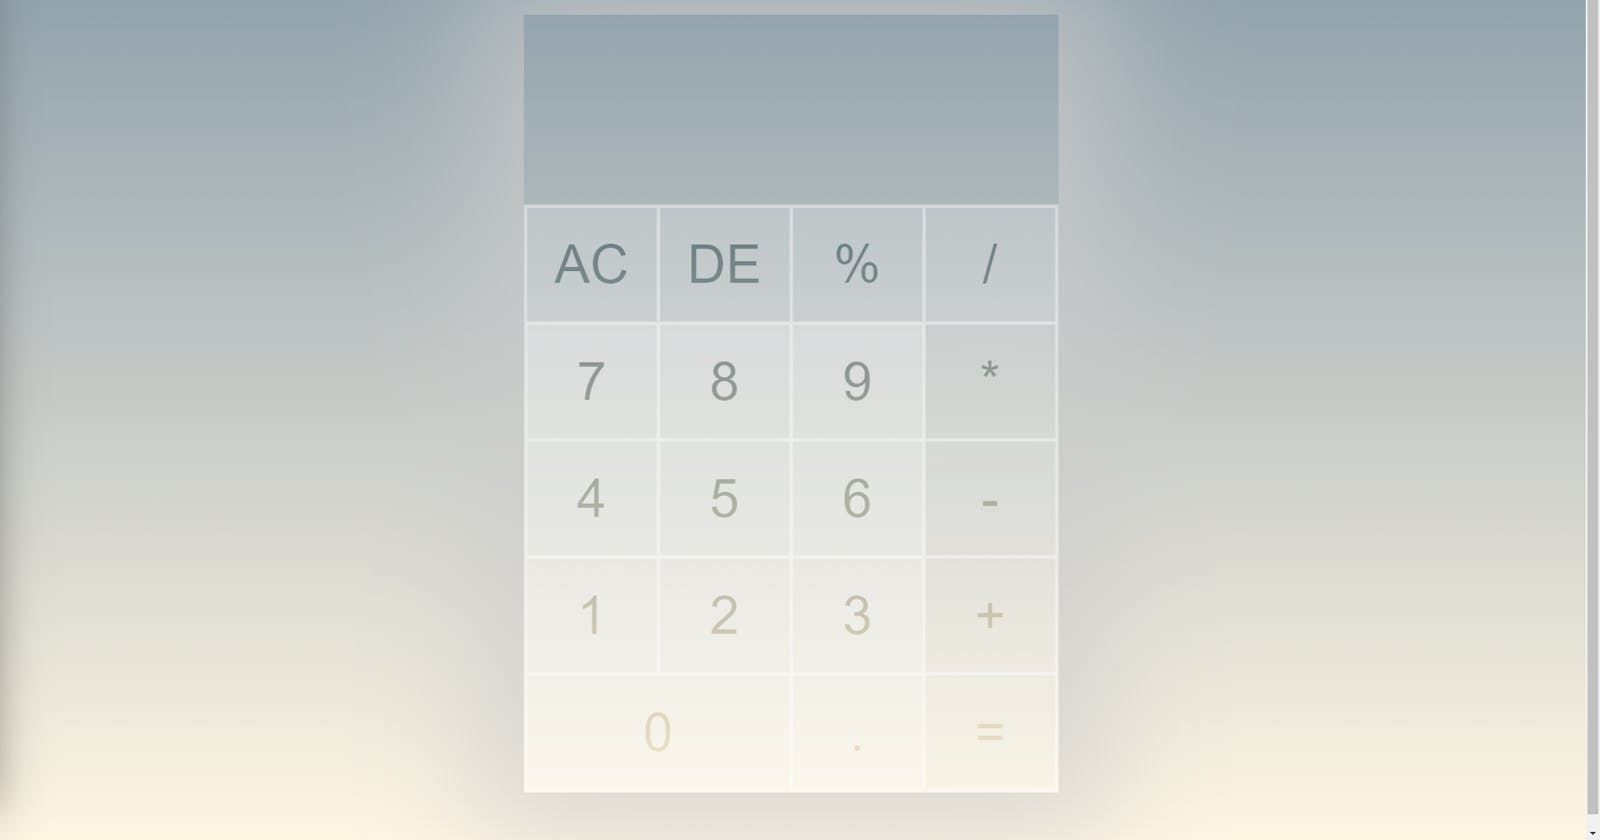
This is a basic HTML file that creates a calculator interface with some buttons and an input field to display the calculations.
Let's go through the code step by step:
The
<!DOCTYPE html>tag declares the document type and version of HTML used.The
<html>tag encloses the entire HTML document and includes thelangattribute to specify the language of the document.The
<head>tag contains metadata about the document, including the character encoding, compatibility with browsers, viewport size, and title.The
<meta>tags provide additional information about the document. Thecharsetattribute specifies the character encoding, while thehttp-equivattribute provides compatibility with legacy web browsers. Theviewportattribute specifies the size of the viewport, which is used for responsive design.The
<link>tag includes thestyle.cssfile to apply styles to the calculator.The
<title>tag defines the title of the document, which appears in the browser's title bar.The
<body>tag encloses the content of the web page.The
<div>tags define sections of the calculator. The outermostdivwith a class ofcalculatorencloses the entire calculator. Thecalculator__wrapclass is used to group the input field and buttons. Thecalculator__displayclass defines the input field for the calculator, while thecalculator__functionsclass groups the buttons.The
<input>tag defines the input field for the calculator, which has anidattribute ofdisplay.The
<button>tags define the buttons for the calculator. The buttons are arranged in a grid and have differentidattributes and text values. The buttons with a class ofbtn--opaqueare used to indicate operations, while thebtn--largeclass is used for the 0 button.The
<script>tag includes thescript.jsfile, which contains the JavaScript code to implement the calculator functionality.
Overall, this HTML code creates a basic calculator interface with an input field and buttons for performing mathematical operations.
CSS -

This CSS code is for styling a calculator app on a webpage. Here is a step-by-step explanation of the code:
@import url(https://fonts.googleapis.com/css?family=Roboto:100);This line imports the Google Fonts stylesheet for the "Roboto" font with a weight of 100.html, body { height: 100%; min-height: 100%; }This sets the height of both the html and body elements to 100%, ensuring that the page takes up the full height of the viewport.body { display: flex; justify-content: center; align-items: center; font-family: Roboto, sans-serif; background: linear-gradient(#8b9da9, #fff6e4); }This sets the display property of the body element to "flex", and centers both the horizontal and vertical alignment of the content within the body. The font family is set to "Roboto" with a fallback to sans-serif, and the background is a linear gradient from #8b9da9 to #fff6e4..calculator { max-width: 320px; box-shadow: 0 0 75px 30px rgba(205, 205, 205, 0.7); }This sets the maximum width of the calculator element to 320px, and adds a box-shadow with a horizontal and vertical offset of 0, a blur radius of 75px, a spread radius of 30px, and a color of rgba(205, 205, 205, 0.7)..calculator__display { padding: 10px; color: rgba(255, 255, 255, 0.7); text-align: right; }This styles the calculator display element with a padding of 10px, a color of rgba(255, 255, 255, 0.7), and text alignment to the right..calculator__display input { width: 90%; border: none; background: none; text-align: right; padding: 10px; font-size: 4rem; color: rgba(255, 255, 255, 0.7); }This styles the input field within the calculator display element with a width of 90%, no border, no background color, text alignment to the right, a padding of 10px, a font size of 4rem, and a color of rgba(255, 255, 255, 0.7)..calculator__functions { display: flex; flex-wrap: wrap; border: 1px solid rgba(255, 255, 255, 0.4); mix-blend-mode: overlay; }This styles the container element for the calculator buttons with a display property of "flex", and the items will wrap if they exceed the container width. It also adds a 1px solid border with a color of rgba(255, 255, 255, 0.4), and sets the mix-blend-mode property to "overlay"..calculator__functions button { flex: 0 1 25%; height: 70px; color: #111; font-size: 2em; mix-blend-mode: overlay; background: rgba(255, 255, 255, 0.4); border: 1px solid rgba(255, 255, 255, 0.4); cursor: pointer; }This styles the calculator buttons with a flex property of "0 1 25%", a fixed height of 70px, a font color of #111, a font size of 2
JS -

This code block is an example of a JavaScript function that performs a simple calculator functionality in a web page. Let's break down the code and understand what each line of code does.
const display = document.querySelector('#display');
This line of code selects an HTML element with an ID of 'display' and stores it in a variable named 'display'. The 'querySelector' method is used to select the element with the given ID.
const buttons = document.querySelectorAll('button');
This line of code selects all HTML elements of type 'button' and stores them in a variable named 'buttons'. The 'querySelectorAll' method is used to select all the matching elements.
buttons.forEach((btn) => {
btn.addEventListener("click", () => {
// code block
})
})
This code block uses the 'forEach' method to loop through each element in the 'buttons' variable, and attaches an event listener to each element. The event listener listens for a 'click' event and runs the code block inside the arrow function.

This is the code block that runs when a button is clicked. It checks the 'id' attribute of the button that was clicked and performs the corresponding action. If the ID is '=' then it evaluates the expression entered in the 'display' element using the 'eval' function and displays the result. If the ID is 'ac', then it clears the 'display' element. If the ID is 'de', then it deletes the last character from the 'display' element. Finally, if any other button is clicked, it appends the value of the clicked button to the current value in the 'display' element.
Overall, this code block demonstrates how to handle user input and perform simple calculations using JavaScript.